This page lists the brands in your project. As an admin, you can also add brands. From the "action" button, you can edit, delete, or view the details of a brand. Our next step will be the content of the brand details page.
***
Brand detail
Here, you can now learn detailed information about the brand. You can track the total number of complaints, the number of solutions, and the total views. On the right side, the brand's personal information is provided. On the left side, the table lists the complaints written about the brand.
***
Brand create
On this page, you can create a new brand. One important point to note is the "User" section: each user can only be assigned one brand, so users who already have a brand will not be listed here.
Additionally, when uploading the brand logo, the first logo must be square (e.g., 200x200px). The "Big logo" can be added in any size, but a horizontal format is recommended.
***
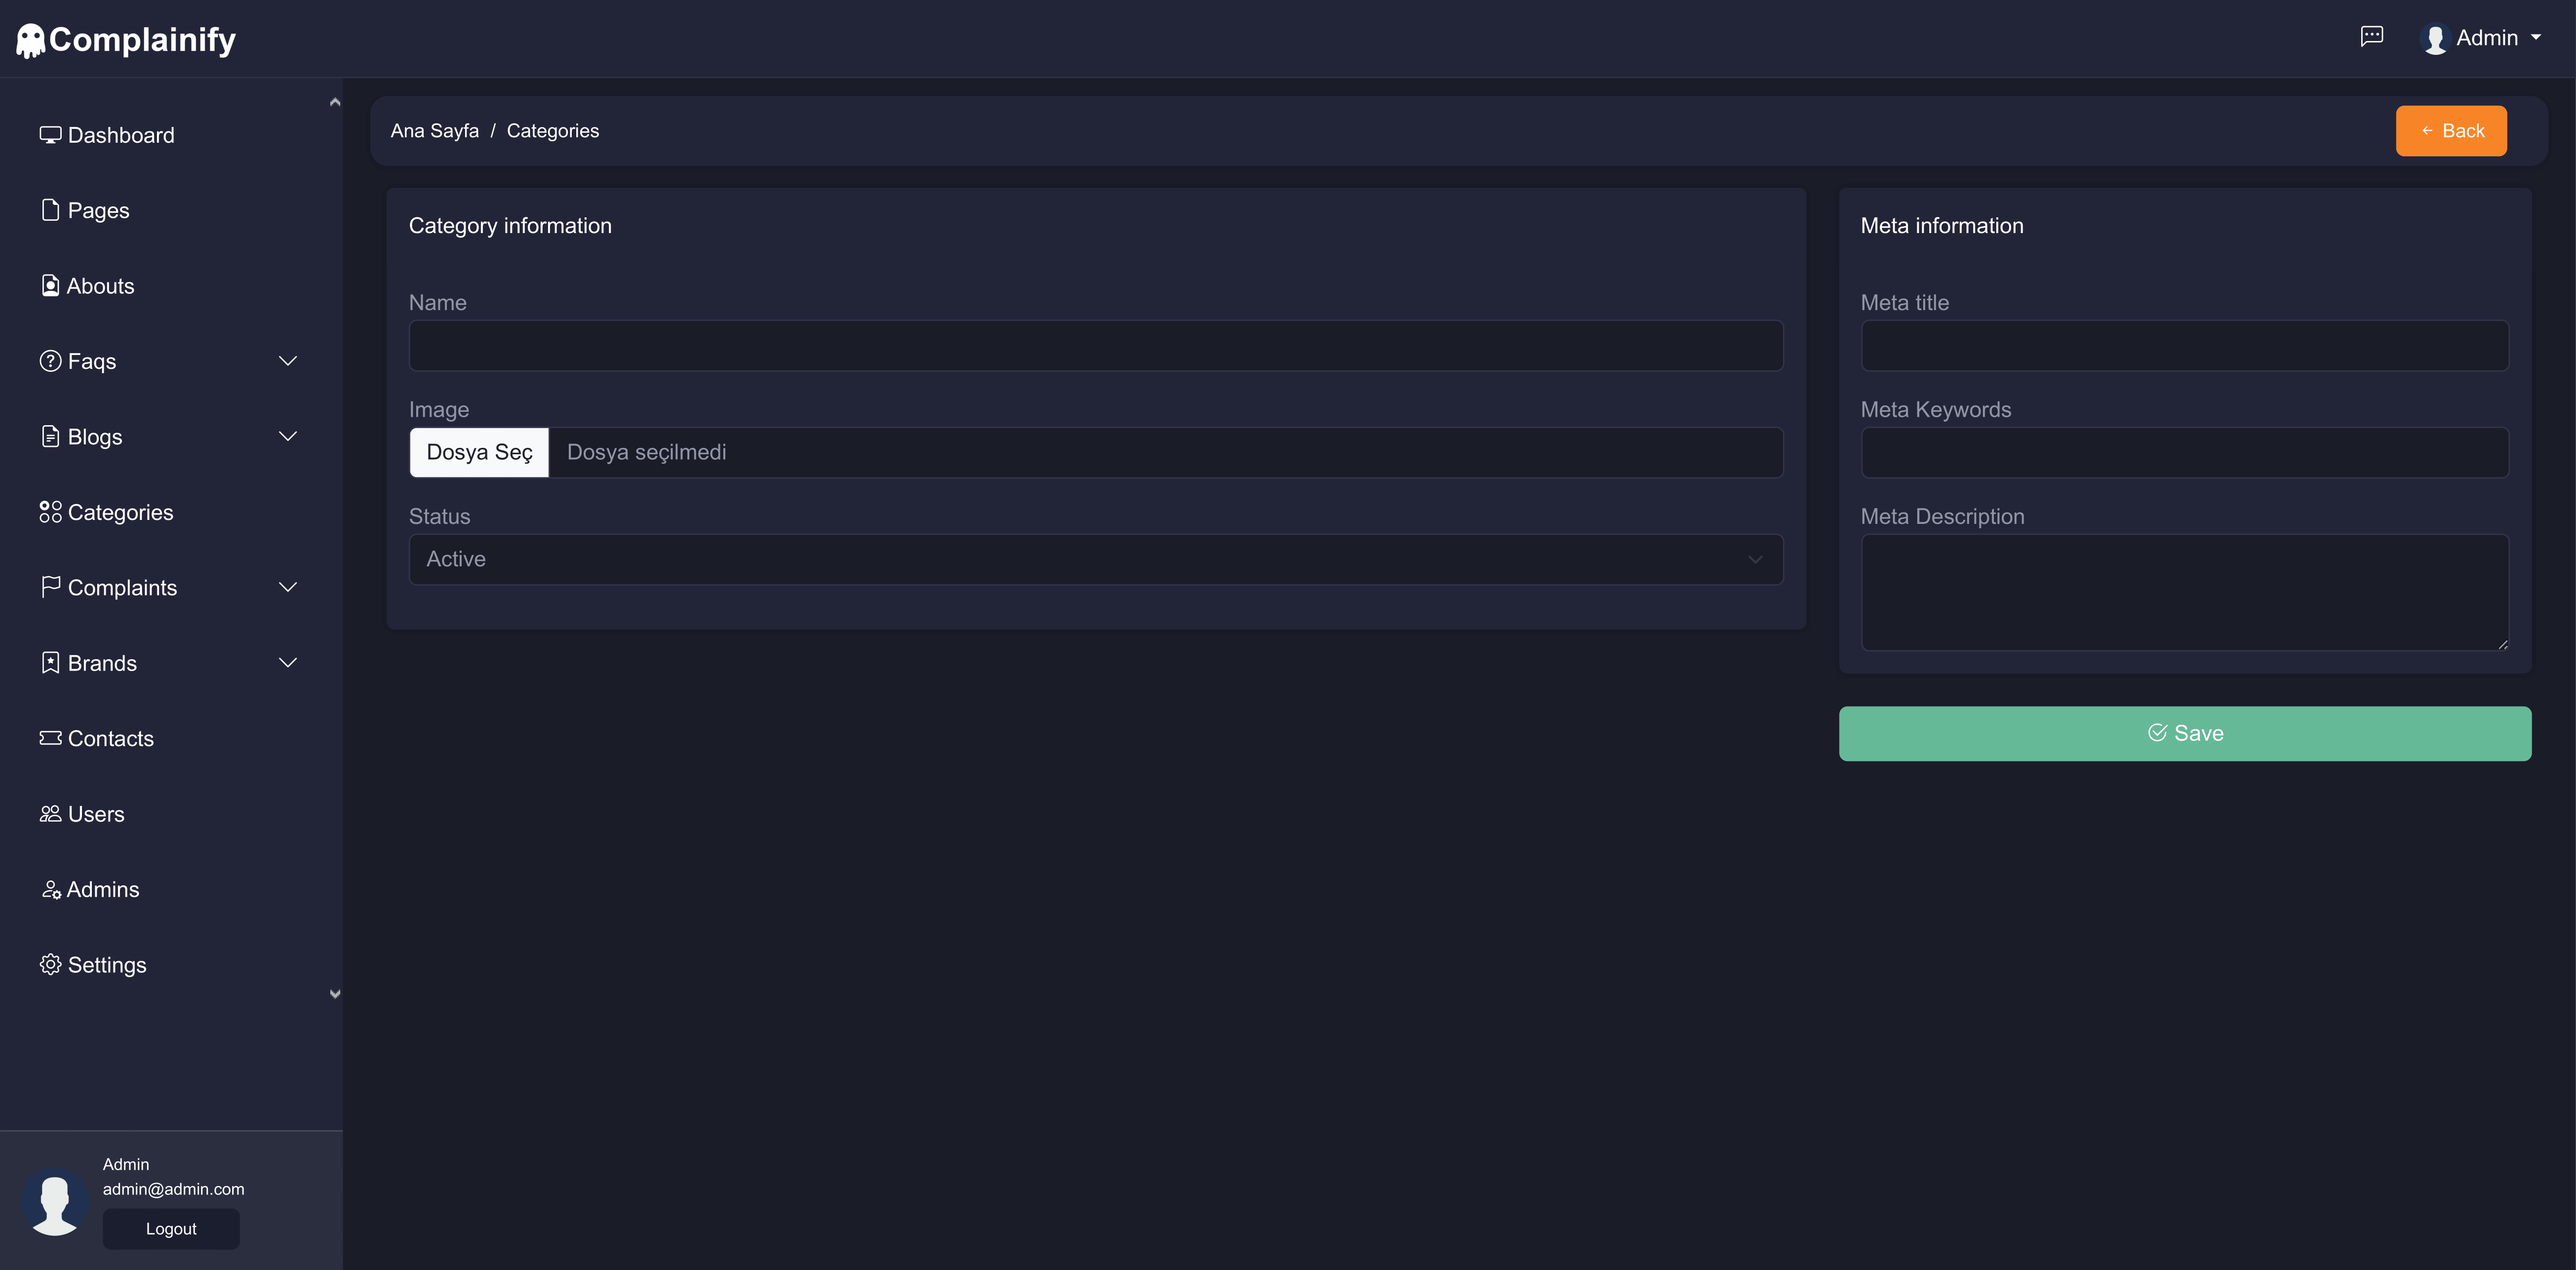
Category create
Category list
To add a brand, you need a brand category first. As shown in the images above, you need to add a brand category. To access this section, you can use the "Categories" menu in the left sidebar.